On American Thanksgiving, we gather with the ones we love. We bring delicious food to the table and we give thanks for our incredible blessings.
I have always looked forward to this Holiday. When I was diagnosed with celiac disease, I took on this feast as the ultimate challenge!
I firmly believe that eating gluten free, should not mean sacrificing flavor. It shouldn’t be the end of your Thanksgiving feasting fun. Oh my friend, with a little help, you can still indulge in this delicious holiday without sacrificing your favorite dishes!
In our family, the Thanksgiving table featured classics like turkey, mashed potatoes and gravy, macaroni and cheese, stuffing, green bean casserole and pumpkin pie. Sometimes, we’d have other treats like ham, roasted veggies, banana pudding, or even marshmallow fruit cocktail!
Let’s tackle some of the holiday’s most wonderful recipes together. Grab your shopping list! I’ll show you my gluten free hacks and you can win this Thanksgiving!
We’ll start with my personal favorite:
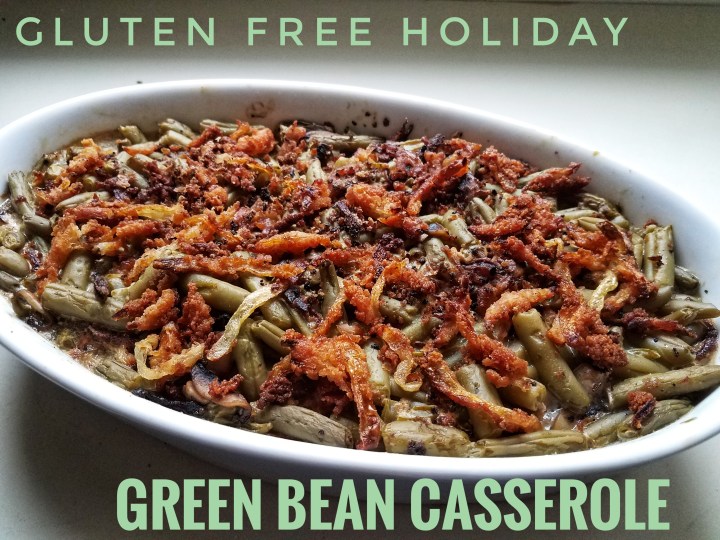
Green Bean Casserole!
I didn’t know it until I became a “grown up”, but this is the dish I look forward to more than any other! It also happens to have more components than the rest our Thanksgiving sides. It actually took me a few years of honing (and a couple sad years of disastrous green bean failures) before getting this one just right. For gluten free green bean casserole, you’ll need:
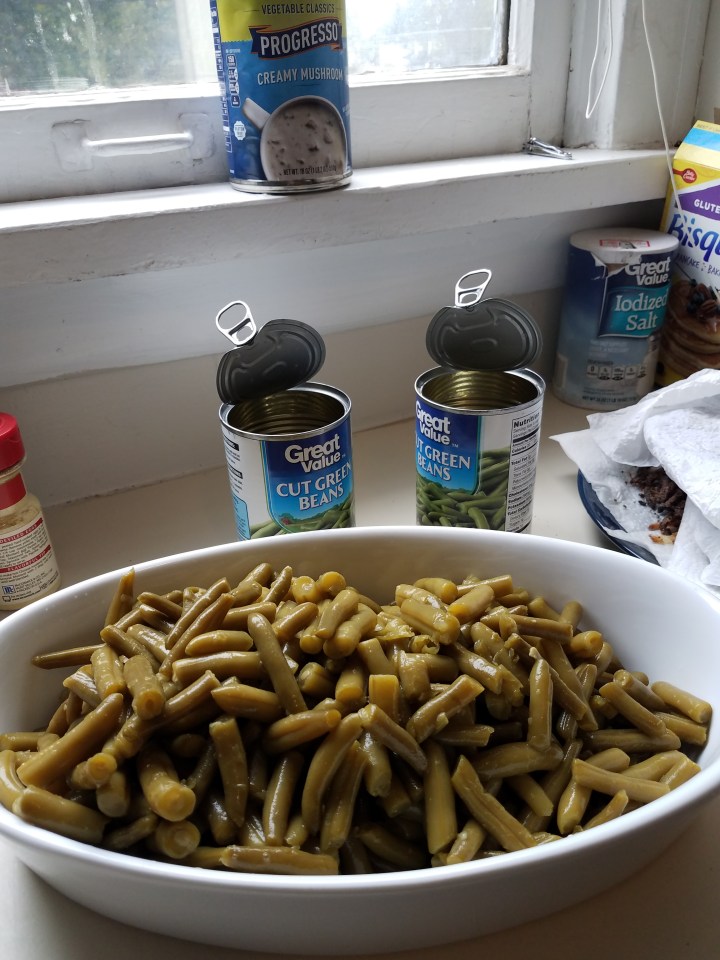
Green Beans (I use 5-6 cans)
Progresso's Creamy Mushroom soup mix (that sucker is GF!)
Mushrooms (I use white button mushrooms)
1 large yellow onion (or two if you'd like to snack!)
GF Bisquick (Makes everything right)
Whole Milk (1.5 cups)
Conola Oil (for frying)
salt and pepper (about 1 tsp each)
Got everything? Cool! Let’s dive in…
Start with your mushrooms. Dice them up nicely. 
Drop about 2 Tablespoons of butter into a frying pan. Drop in your mushrooms and spread them out to sizzle away!
Add a little salt and pepper (garlic salt if you are like me!)
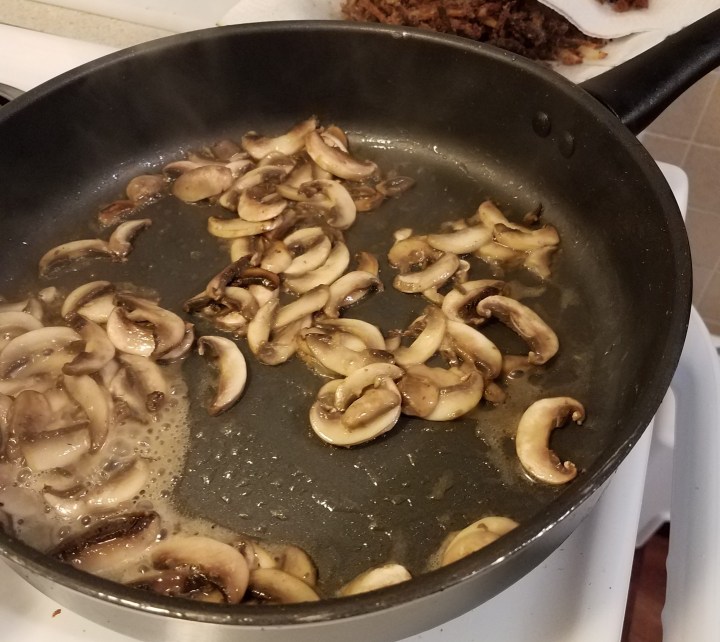 Let them cook for a few minutes. I like them still squishy, but starting to get a little crisp to the edge.
Once those are done, set them to the side. Try not to eat them All while you are cooking. You’ll need them in a little bit!
*If you are not a mushroom fan, try using half the amount of mushrooms. Chop them into tiny bits and then fry them in butter. You’re not likely to notice the squishy texture and you’ll still get the flavor*
Next, let’s fry up those onions!
This was my greatest hurtle when I first transformed this dish into GF. Though tried and true for many, French’s aren’t gluten free.
One year, I found a container of gluten free crispy fried onions at the grocery store, Aldi. I didn’t taste them before using it in the dish. I love Aldi, but it’s safe to say, I won’t be buying those ever again.
The next year, everything changed when I started Making them myself!
Start with a frying pan (it’s ok to use the same one you used with the mushrooms. You don’t even need to rinse it out!) Add 1/2 cup of oil to the pan and turn the burner on med-high or high.
I use 1 large yellow onion. (Next time I make this, I will surely use two so I won’t feel bad for snacking along the way!)
Chop your onion into thin slices.


Spread them out so they aren’t sticking together.
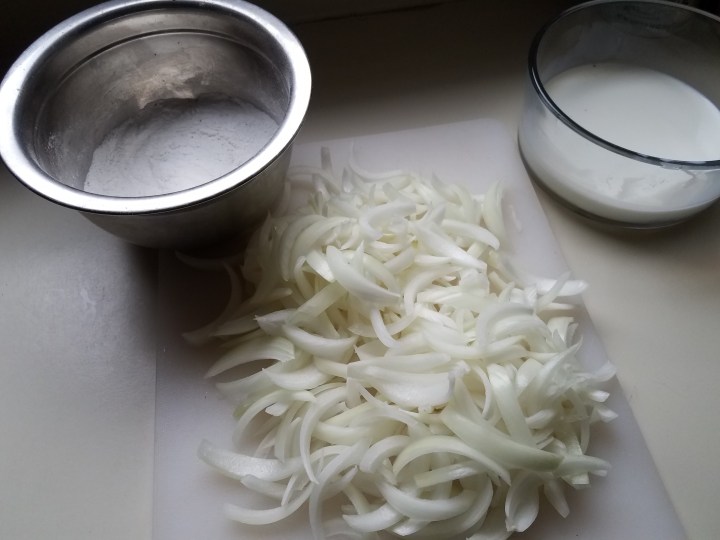
Next, pour your milk into a small bowl. Place the onions in the milk and swish them around til they’re nice and wet.
 It’s ok to do this a little bit at a time. Maybe take 1/3 of your onion choppings at a time to dip in the “milk wash.”
In another small bowl, pour 1 1/2 cups of GF bisquick. Sprinkle in pepper and salt (or garlic salt that is gluten free) and mix it together with a fork or a whisk.
Take your milk-soaked onion pieces and place them into the bisquick mixture. Toss it around with your fingers until they are coated with the bisquick. 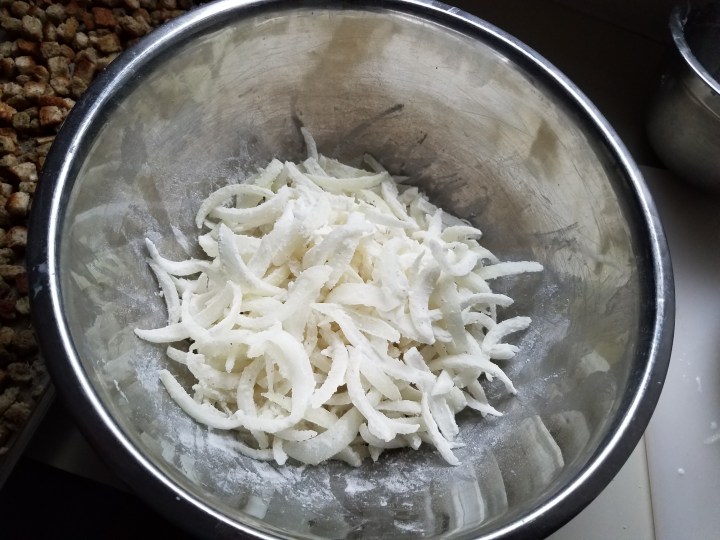
Repeat this process until you’ve coated all of your chopped onions in milk, and then bisquick.
By now, your oil should be good and hot!
Take a third of your coated onion slices and set them directly into the oil.

Let them sit there, sizzling away for about 1-2 min.

Mix them around and give them another minute or 2 to get real crispy! If you spread them out a bit in the oil, making it so they don’t clump together, you’ll have an easier time getting them crispy!

Once you’ve fried all of your onions “strings” you are ready to move on!

Well there they are: your cast of characters… green beans, creamy mushroom soup mix, crispy onions and sauteed mushrooms! You are almost done.
You know what I love about casseroles? Once you have the ingredients ready, you mix it together and bake it!
I didn’t get a picture of mixing it all in for one good reason: my hands were Covered in ingredients! I wash my hands and then I use them to mix well!
Pour the entire can of creamy mushroom and stir it in gently. Add all of the mushrooms and continue mixing. Add about half of your onions and mix it all well!
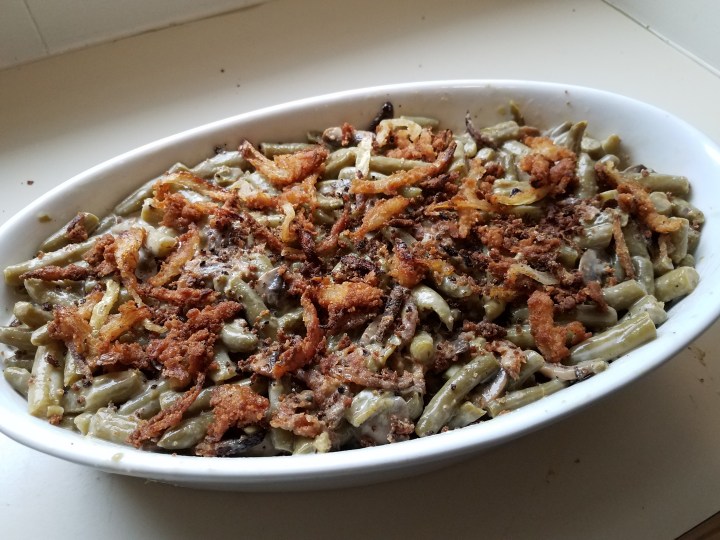
Top it off with the remaining fried onions!
Bake your Green Bean Casserole on 350F for 25 minutes!

Let’s recap:
Chop mushrooms and fry in butter. Set aside...
Chop onions and coat in milk, then bisquick, salt and pepper.
Fry in oil until crispy!
Pour Beans into baking dish.
Add can of creamy mushroom, then add mushrooms and 1/2 the onions.
Mix well.
Top with other half of onions.
Bake for 25 min at 350F.

Enjoy!
Epilogue: I create a careful schedule for myself each Thanksgiving Day. I bake my green bean casserole, mac and cheese, and stuffing all at the same time; they each bake for about 25 minutes at 350F!
I can’t wait to hear how yours turn out! Please comment below to share with me!


I love this. I bet it is delicious! Your onions are probably way better than the French’s
LikeLike